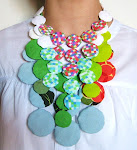
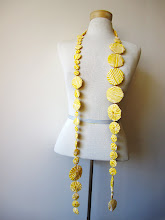
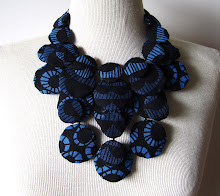
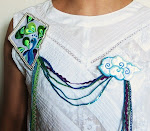
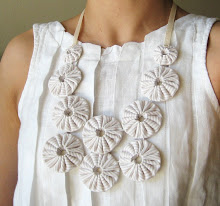
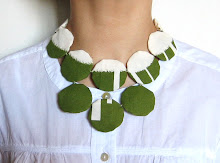
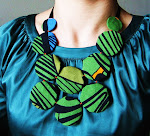
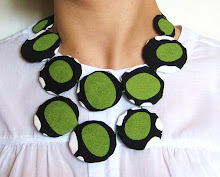
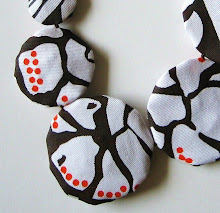
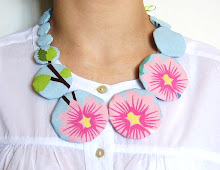
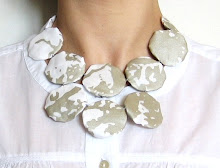
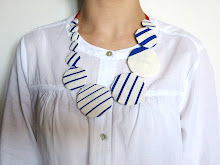
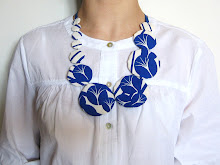
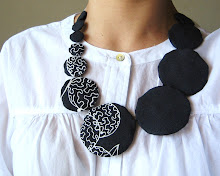
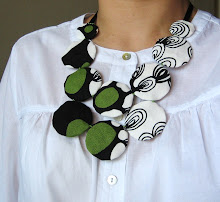
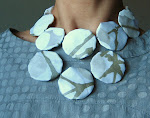
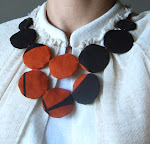
 "Cherries In A Bowl" - an Empress Dowager's New Jewels limited-edition print
Alright, one final excuse for the lack of posts on this blog. Last one, I promise.
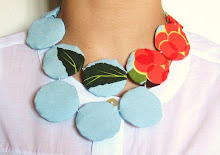
I've been toying with the idea of printing my own fabric for The Empress Dowager's New Jewels since Day #1.
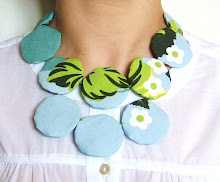
Now, don't get me wrong. I LOVE all the textile that I've been using - those from the amazing designers at Marimekko right down to those reclaimed from old dresses and cushion covers. And I will continue using them.
It's just that I like a challenge sometimes, you know, make things a little difficult for myself just for the fun of it. Like how I like my food, if I can make something from scratch - pasta, sauces, ice cream, pastry... - I will.
So why start printing now, when I have so much to sew in time for the upcoming markets? Because I wanted to do something special for the Christmas exhibition, Feast, that the lovely Zoe Brand has invited me to show at when we met at A Little Bazaar.
I will put up another post about the pieces that I'll be making for the show when I'm done with printing all three pieces of the fabric. Meanwhile, for those who are curious about my very primitive method of printing...
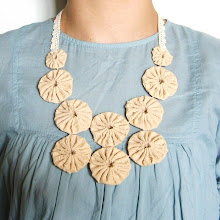
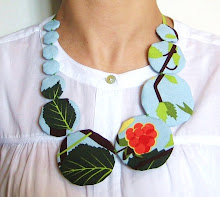
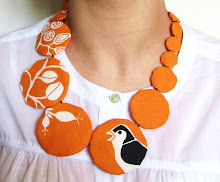
 "Cherries In A Bowl" illustration by Selina at Paperocket
1. You'll need a co-conspirator, if like me, you can't draw very well.
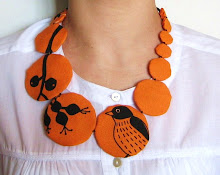
I bribed the very talented Selina (I call her Miss Nah-nah) at Paperocket into collaborating with me on Project Print with a pair of The Empress Dowager's New Ears.
Three illustrations from her in exchange for a pair of ears from me. I think she got the bum end of the deal. Haha.
Thank you for all the long hours you have put into them, Nah-nah!
 2. I don't know how to silk-screen (it's at the top of the list of evening courses I plan to take) and this primitive method of printing is the only one I know, besides kindergarten-style potato printing.
I learnt this hand-cut stencil method (yes, everything you see here is cut by hand) 20 years ago from a classmate in junior college art class. We were both mad about music and bands but were too poor with our student allowance to buy band merchandise and this was how we printed our own band t-shirts (my first was a Jesus and Mary Chain one).
It has served me well. I have printed countless things over the years as presents for friends.
It doesn't cost very much but it is very time-consuming. And each stencil can only be used once! Good thing I love working with knives.
If you ever get a piece made from one of these prints, take good care of it because a lot of love, care and tenderness (sometimes blood) have gone into it.
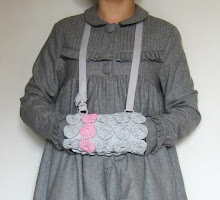
 3. With the stencil cut and stuck to the fabric, I start colouring it in with fabric paint.
 4. It takes three layers of paint for it to look good so loads of waiting-for-paint-to-dry-between-layers time.
 5. When the final layer is dry, peel the stencil off and iron to fasten paint.
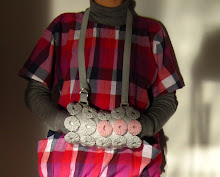
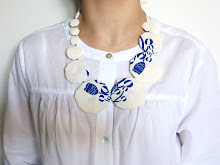
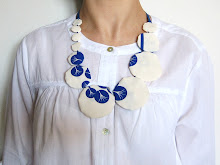
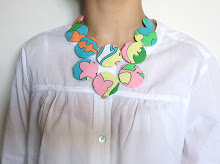
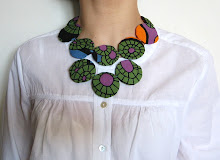
There you have it! I now have to add the "spot colours" and then start cutting the "gems" and sewing.
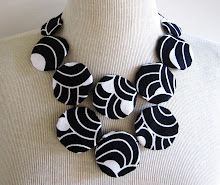
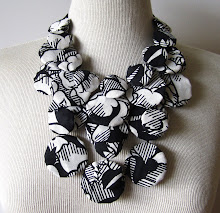
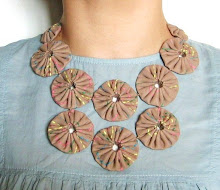
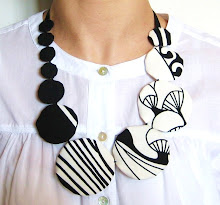
Because I can only use the stencil once, it as limited as any limited edition can get. Should I decide to make the same print again, it will never be a carbon copy of this one. Like all Empress Dowager's New Jewels - no two pieces will ever look the same.


.short.JPG)
.4.JPG)


.short.JPG)


2 comments:
i don't think i got the bum end of the deal, while drawing i was wondering the drilling hours+effort you're going to spend on die-cut alone! definitely going to add this into my portfolio too!
hopefully we get to work on another project again!
xo
Hey Nah-nah,
I still think you did!
Don't add them to your portfolio yet...not until I add in the spot colours!!!!
We will!!!! Maybe sooner than you think! xx
Post a Comment